In this article, we will setup azure service bus topic and try to senduse existing service bus namespace and we will create Topic under same service bus.
In this article, we will use existing service bus namespace and we will create Topic under same service bus. To create a service, please refer this article (Getting started with azure Service Bus Queue).
Here we will start from adding Topic under service bus.
Azure Service Bus Topic is subscription based means there should be subscriber who subscribe to topic. One topic can have 2000 subscribers.
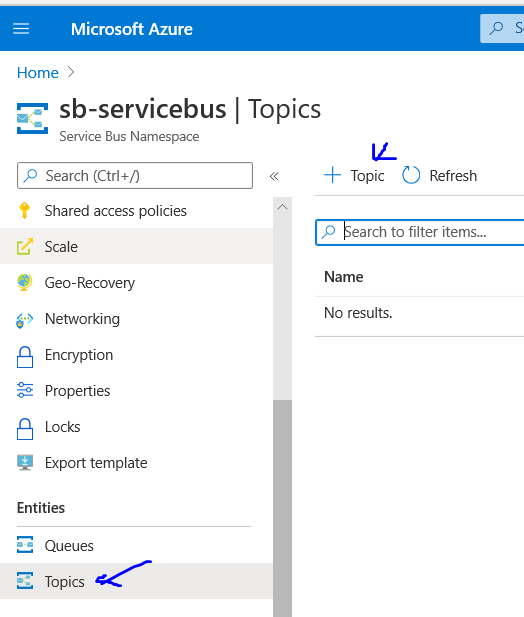
Once you have created your service bus namespace, click on service bus namespace (here my service bus namespace name is “sb-servicebus”) and click on Topic in left pane and then click on “+Topic” button to create new topic.
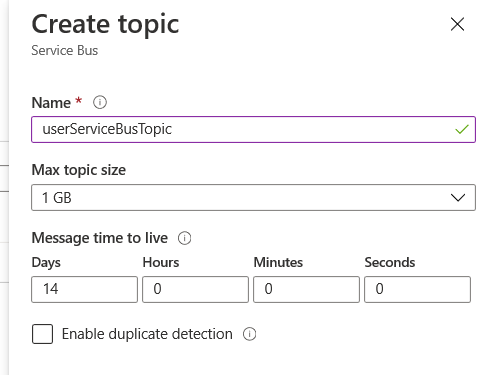
Enter required values and click on “Create” to create topic.
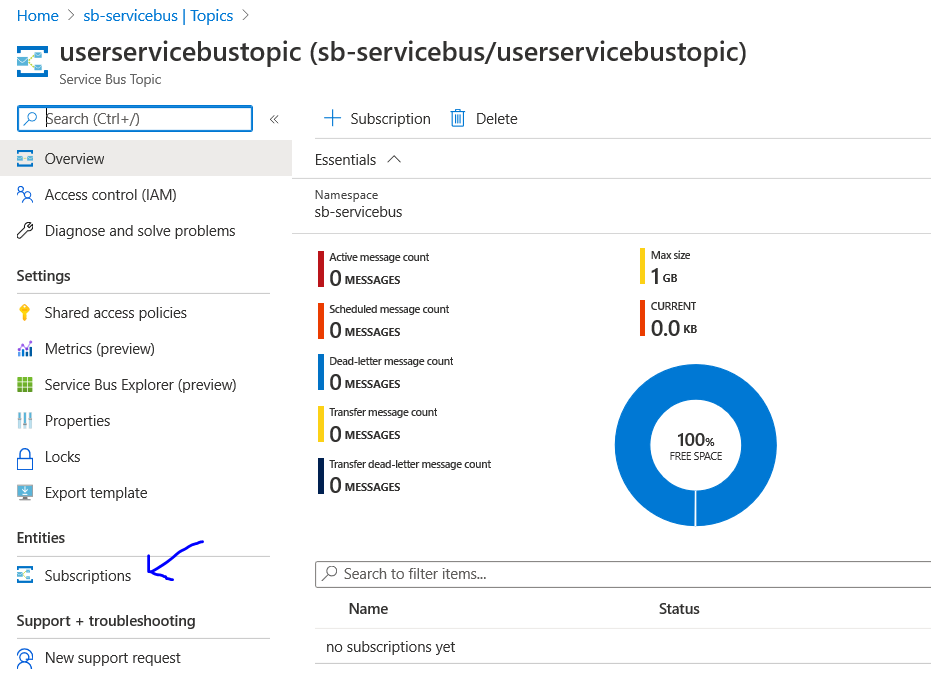
Now your first service bus topic has been created so it is the time to add subscription to the topic.

You will find subscription tab in left pane or a button with “+Subscription”. Click on “Subscriptions”.
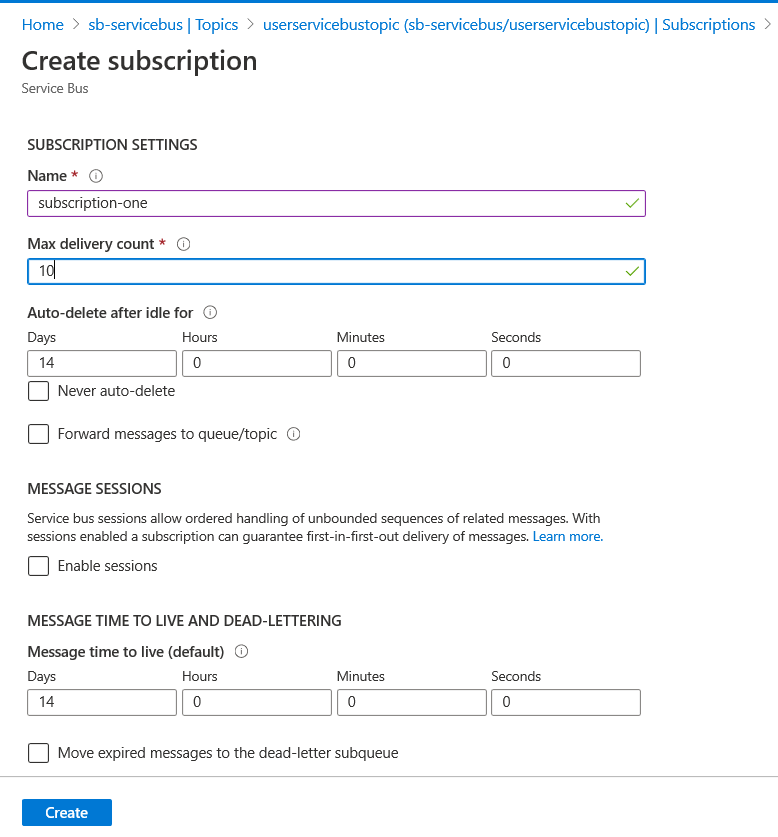
Enter valid details and click on “Create” button to create subscription.
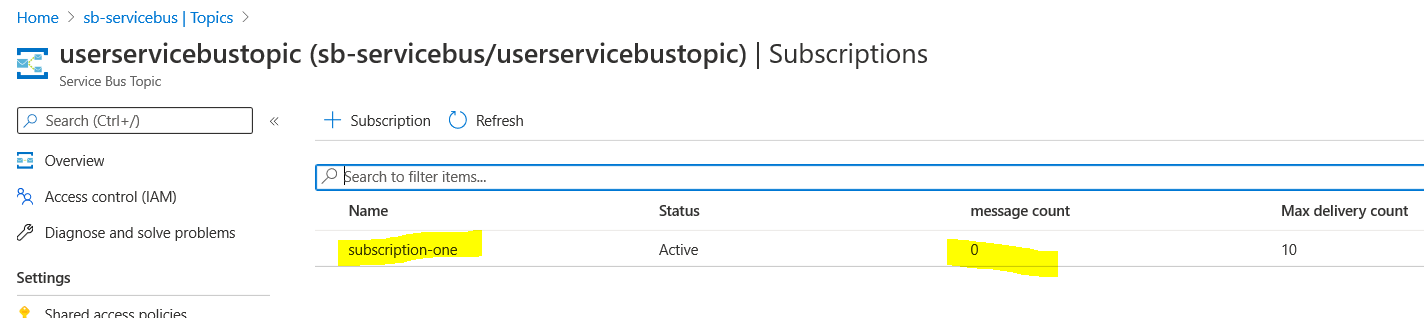
Here you can see subscription “subscription-one” has been create and has message count 0.
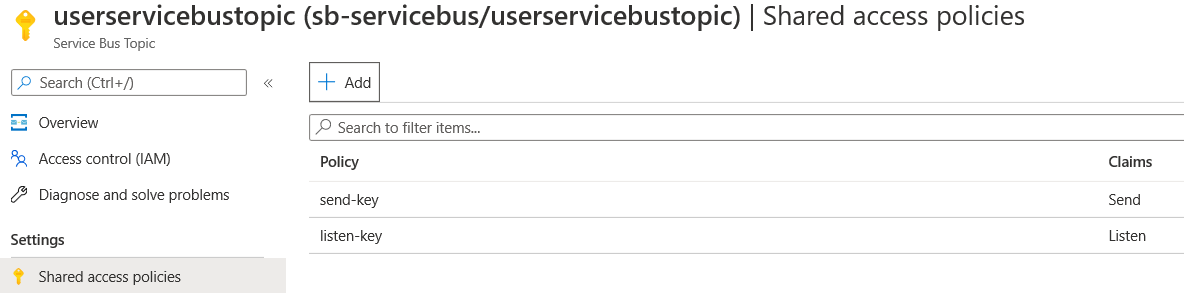
Now it is time to add SAS policies. To communicate with service bus topic, you need keys (connection string). For that, click on “Shared access policies” and click “+Add” button to create key. Here you can create keys for manage, send and listen.

I have created it for send and listen. This is also called claim.
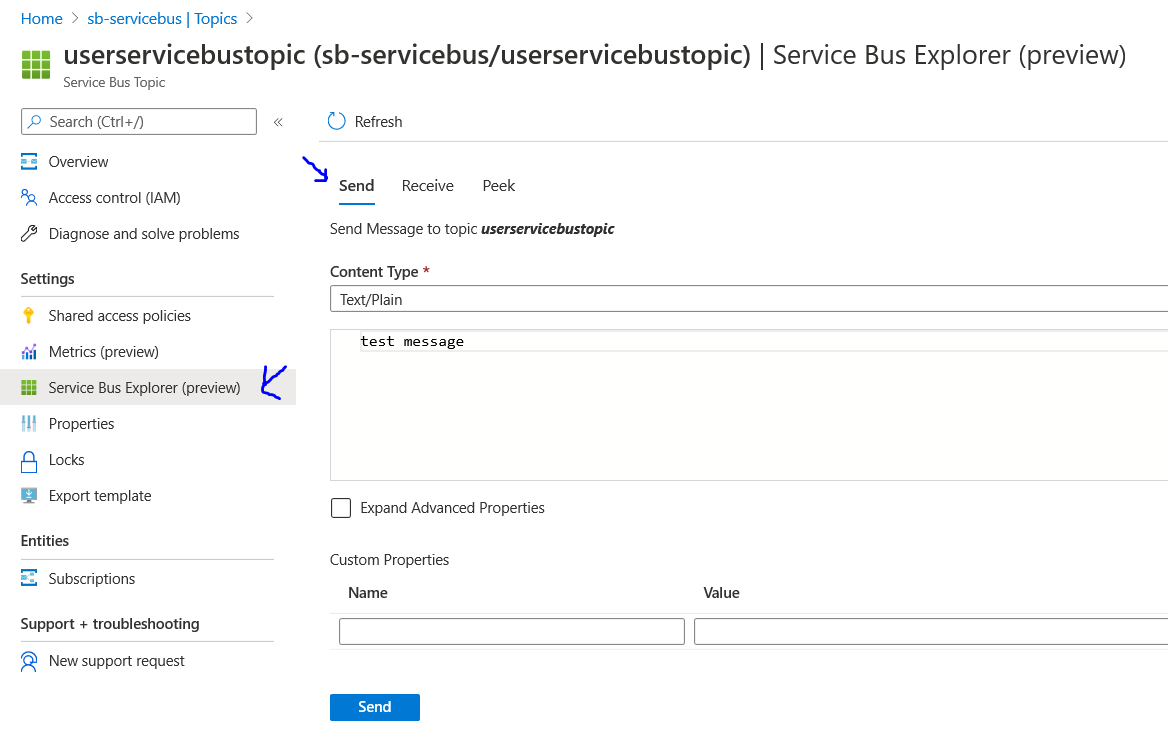
Now click on “Service Bus Explorer” option.
Here you will see message summary – active, dead-lettered and scheduled. You will also see tabs like “Send”, “Receive” and “Peek” with “Send” as default selected.
To send message select content type (Text/Plain, Application/XML or Application/JSON) and type message. You can also add custom attribute to send in message. Click on “Send” button to send message.
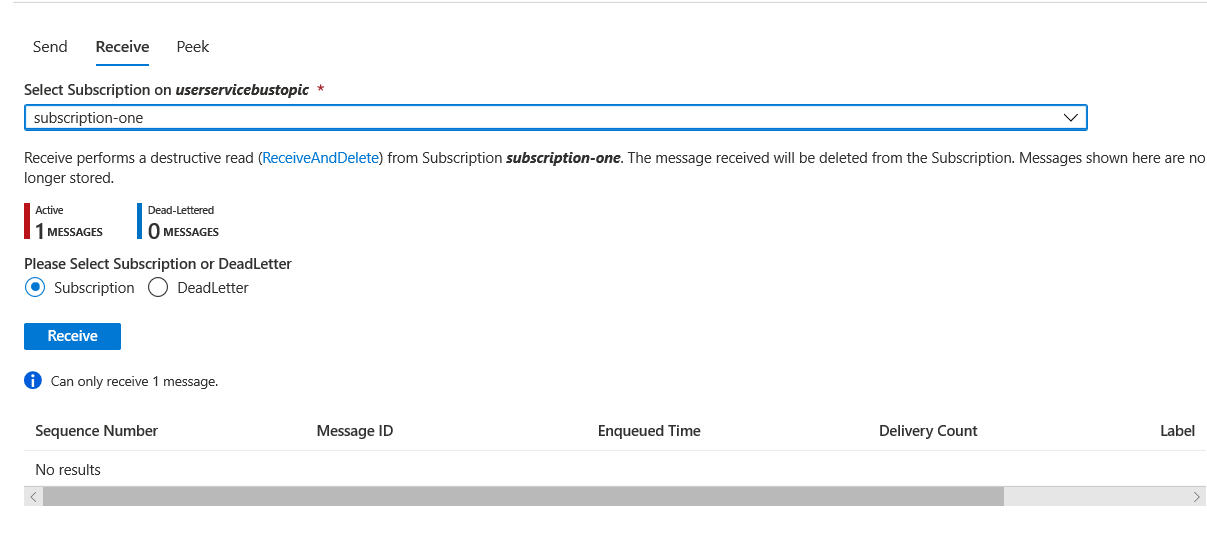
Once you press send, you will notice that count of active message increase to 1. Now click on “Receive” tab to receive message and select a subscription from dropdown. Dropdown will show all the subscriptions added in previous step. Receive message button will receive one message at a time and will delete message from queue after you receive it. Click on “Receive” to receive message.
“Receive performs a destructive read (ReceiveAndDelete) from subscriptions. The message received will be deleted from the Subscription and are no longer stored.”
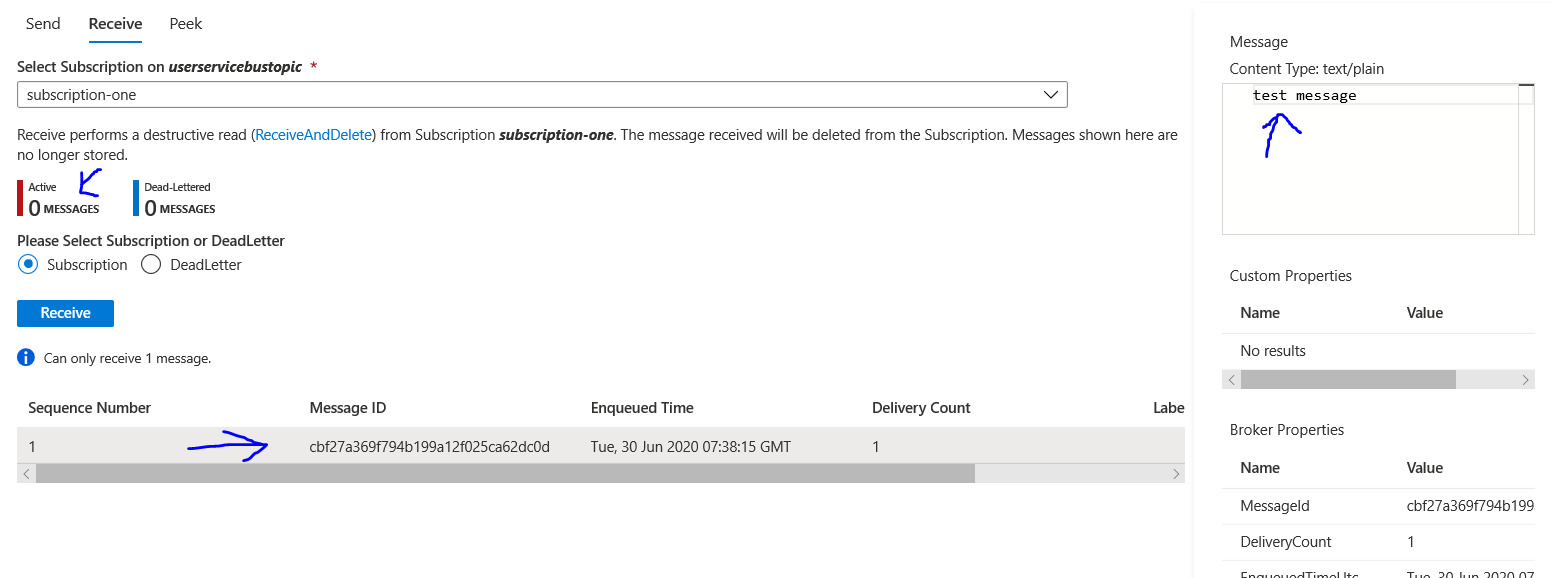
Here you can see that message has been received and active message count has been reset to 0.
I am ending this article here. In next article, we will try to implement this with code.